Usage
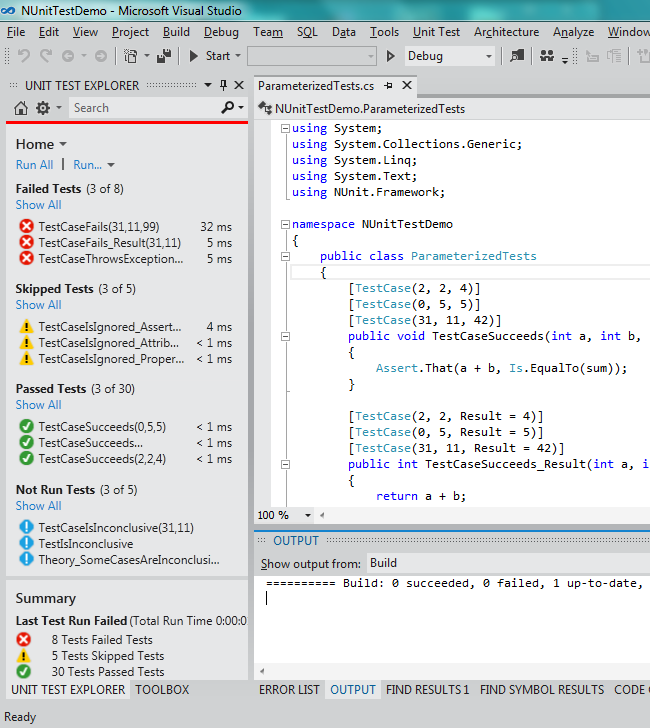
In preparation for using the test adapter, make sure that the Unit Test Explorer is shown in your window. If you don't see it, use the menu ( Test | Windows | Test Explorer ) to show it and position the window where you would like it within Visual Studio.

When you initially open a solution, no tests will be displayed. After compiling the assemblies in the solution, Visual Studio will interact with the NUnit Test Adapter to discover tests and a list of them will be shown in the Test Explorer.
Click on Run All in the Test Explorer to run all the tests. You may also select one or more tests in the list and run them by right-clicking and using the context menu. The context menu also contains entries for debugging tests and for navigating to the source code of a test.
Tests may be grouped by Duration and Outcome under VS2012 RTM and also by Traits and Project using Update 1 or later, and Class using Update 2 or later. NUnit translates any Categories and Properties used on your tests to Visual Studio as Traits.
Tests may be filtered in Visual Studio under Update 1 or later by Trait, Project, Error Message, File Path, Fully Qualified Name, Output and Outcome. Use the search edit box at the top of the list of tests to specify a filter.
Tests may be organized by play lists in Visual Studio under Update 2 or later. Playlists are more or less equal to the old test lists from VS 2010.
Parameterized tests will show up as separate test cases for each set of parameters.
For settings options, see the Tips and Tricks